
Dye Process
Hello,
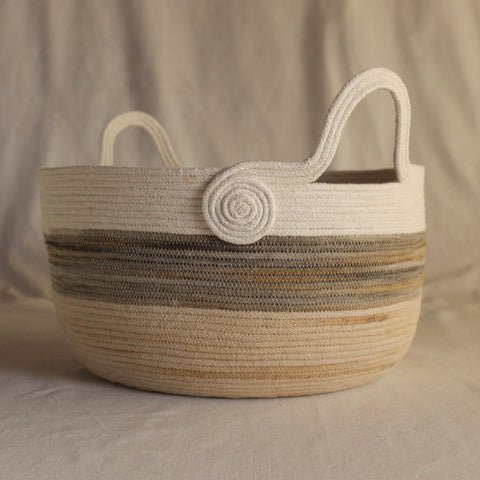
Dyeing with plant is a wonderful art, Since the beginning of Dragons Are Real I wrote many time about it to present the final object. It came to me that it was essential to explain step by step the whole process and to offer you an immersion in this wonderful and colourful journey. I take you with me in the making of a Dail Mor Basket dyed with Alder cone, from the harvest to the finished and unique item.
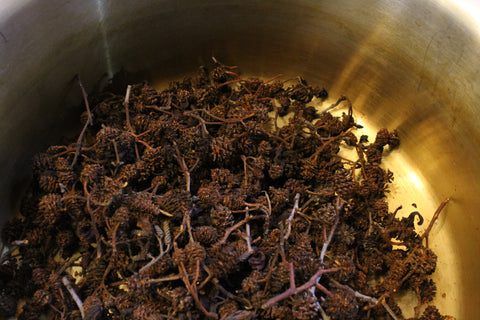
1 - HARVEST THE PLANT
I collect plants that are growing locally, wild or cultivated in my garden. All along the year I follow the seasons to pick up leaves, flowers, berries, etc … It is important for me to act in a sustainable way. Leave enough for the plant to regenerate, for the birds and small animal’s food and keep in good condition the place. So I am limited in the quantity I can collect. In my kitchen I save the tea bags and the onions skins. I will spread what I collected to dry for minimum one week.

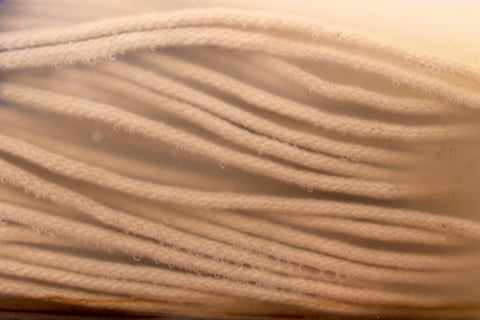
2 - PREPARE THE FIBRE
The fabric I use can be made of cotton or linen as I upcycle the ancient bed sheet (about 100 years old). The rope is made of cotton. I always wash the fabric before I sew it, whatever it is brand new or second hand. I mordant the fibre with homemade soya milk. Usually in the evening I pour 125 gr of soya bean in one litre of water in a bowl and let it soak overnight. The day after, I put the fibres in a bucket of water. Meanwhile I blend the beans and strain the milk through a muslin cloth and a colander. To extract a maximum of milk I make a ball with the cloth and squeeze it in my hands. I add water to this milk and put the wet fibres in. It will stay in the mixture for 24 hours (in a cold place to avoid fermentation), stirring it a couple of time to insure the fibres are properly immersed in.
The following day, I remove the fibre, squeeze out the excess of milk and hang it to dry for many days, out of direct natural light. Once dry, I leave them in a dark place for a minimum of 1 week to allow the mordant to bond with the fibre.

3 - EXTRACTION
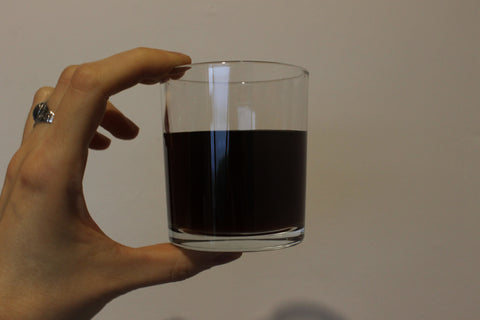
You need a very large quantity of the selected plant to extract enough pigment and then obtain a bright colour. To give you an indication you need one part of the dried plant for one part of fibre so 100gr of plant for 100gr of fibre. If the plant is fresh, because of the quantity of water naturally present in it, I will double the quantity ( 200gr of plant for 100gr of fibre). In a large pot I covered the dyestuff with water. It will simmer on a low temperature hub for one hour and then left to cool down for 24 hours.
4 - DYEING
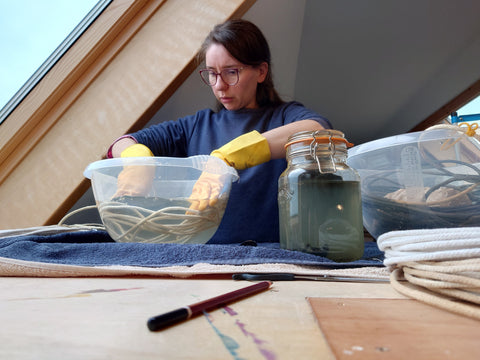
After this 24 hours, I remove the dyestuff and keep only the dye. I put my fibre (previously dampen in water) in the pot and let it simmer for 1 hour on a low temperature hub, then I leave it to cool down for 24 hours. Finally I take out the fibre and hang it to dry for many days out of direct natural light. Then I won’t touch again the fibre for a minimum of 1 week to allow it to bond properly with the dyestuff.
5 – ADDITIONAL TREATMENT
Sometime, I will modify the colour of the fibre with Iron Soup. Iron soup is a mixture of rusty nails (or other bit of iron), water and white vinegar. Iron can be used as a mordant but also as a modifier. I pour about 3-4 table spoons of iron soup in a bowl of water (about 2 litre) and immerse briefly the fibre in it. For now I obtained grey and green colours with this treatment. I let dry the fibres.
6 – WASHING (fabrics)
Later I will wash briefly the fabrics, in a sink with a dash of laundry liquid to remove the excess of dye. When I use a plant for the first time it is an indispensable step to check if the colours stay on the fabric.
7- LIGHT TEST
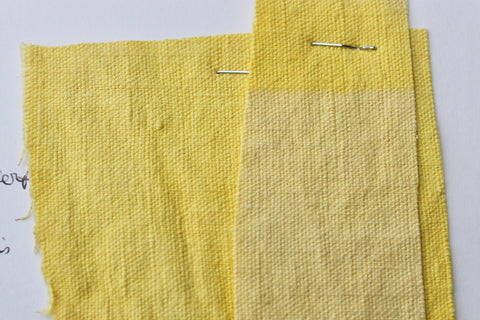
Again, when it is the first time I use a plant, I will check its strength with a direct exposure to natural light for one week. If it fade considerably I wont use it again. For now I made this observation only with the turmeric ground. Even after 24 hours, the difference was already obvious.
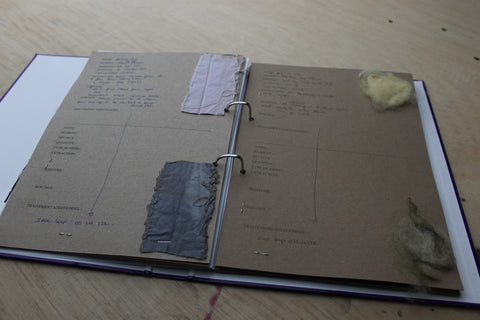
8 – RECORDING
Every time I try a new recipe, a new pigment, I do it on fabric. Once all the steps have been completed I collect a sample and record the majors informations. This is a great resource to use later to reproduce a method or to improve it. If I am happy about it, I will try it on rope and wood.
9 – MAKING
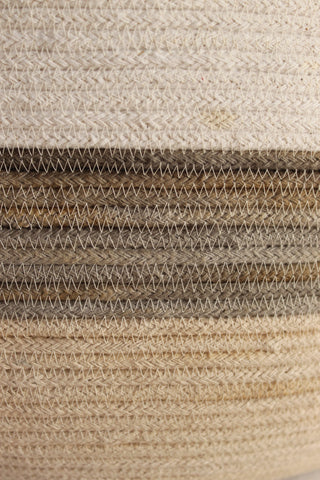
Finally I make something with this newly dyed fibres. With the fabrics: embroidery kit, patchwork bundles, pouches. With the rope: baskets. With the wooden beads: necklaces.
I am so grateful I can practice this art with what my direct environment offer me. Using soya beans as a mordant is uncommon. Most of the books indicate to use alum in their recipes. I tried the alum but I didn’t observe a significance difference. Also I have a septic tank so I can’t pour alum in it. Soya milk is safe. To resume, the plant dye process require a minimum of 20 days from the moment I harvest the plant to the last step of the making of a product. One of my goal is to create a tinctorial garden with plants that are not growing wildly here but robust enough to grow on the windy island. This garden will include a longer process as it will start from the seed and the beautiful magic of sowing, growing, blooming life of plants. Sustainable and eco-friendly practice are obligatory to use plant. It is the only to preserve and encourage a viable environment for everyone.
1 comment
Hi ! Very instructive article ! thank’s for sharing